-
Shop
- Advanced Technologies
- AI Skills
- AI Skills Mastery 2026 Collection
- Bathroom
- Beauty
- Best-Sellers
- Bluetooth Speakers
- Car Accessories
- Car Buying & Ownership
- Car Electronics
- Chargers
- Confidence
- Dating & Social Skills
- Education & Learning
- Family & Parenting
- Fashion
- Accessories
- Alexander McQueen
- Bags
- Bags & Wallets
- Balenciaga
- Belts
- Blazers
- Blouses & Shirts
- Bottega Veneta
- Bottoms
- Brunello Cucinelli
- Burberry
- Chanel
- Chloé
- Dior
- Dolce & Gabbana
- Dresses
- Etro
- Fendi
- Gucci
- Hats & Hair Accessories
- Hoodies & Sweatshirts
- Jacquemus
- Jewelry
- Jil Sander
- Keychains
- Kiton
- Luggage
- Luggage Bags
- Miu Miu
- Off-White
- Outerwear
- Prada
- Rick Owens
- Saint Laurent
- Socks & Tights
- Sweaters & Cardigans
- The Row
- Tom Ford
- Tops & Shirts
- Valentino
- Valentino Garavani
- Versace
- Vivienne Westwood
- Watches
- Furniture
- Gadgets
- Game Controllers
- Headphones & Earbuds
- Health & Beauty
- Health & Wellness
- Home & Garden
- Home Decor
- Home Electronics
- Home Styling & Organization
- Keyboards & Mice
- Kids & Babies
- Kitchen Best-Sellers
- Lighting
- Luxury Brands Collection
- Microphones & Accessories
- Parenting & Child Development
- Patio, Lawn & Garden
- Personal Growth
- Personal Style & Fashion
- Pet Care
- Pet Lifestyle & Wellness
- Pet Supplies
- Pets
- Phone & Tablet Accessories
- Shoes
- Smart Home
- Smart Life with AI
- Sport & Outdoors
- Travel
- Travel & Adventure
- Wealth
- Wellness
Safe Formula Bottle Mixing: Steps for Accurate Prep
Mixing Baby Bottles Safely and Easily: A Step-by-Step Routine for Confident Formula Prep
A consistent bottle-mixing routine helps reduce mistakes, keeps feeding gear cleaner, and makes day-to-day formula prep faster—especially during night feeds. The steps below focus on practical setup, accurate measuring, safe water handling, and storage habits that protect quality and reduce waste. For more guidance, see Infant formula: 7 steps to prepare it safely – Mayo Clinic.
Start With a Clean, Calm Setup
When formula prep feels rushed, it’s easy to lose track of scoops, grab a damp scoop, or set clean parts on a questionable surface. A simple “same place, same order” routine keeps everything predictable. For further reading, see Infant Formula Preparation and Storage – CDC.
- Wash hands with soap and water and dry with a clean towel before touching formula, nipples, or bottle interiors.
- Use a dedicated prep area: a cleared counter, clean drying rack, and a small bin for bottle parts to avoid cross-contamination.
- Inspect bottles, nipples, and rings for cracks, cloudiness, or sticky residue; replace worn parts that trap buildup.
- If using a dishwasher, confirm parts are dishwasher-safe and fully dry before storage; trapped moisture can cause odor or residue.
- Keep the formula container closed between scoops and store it in a cool, dry place; avoid humid spots near the sink or kettle.
If multiple caregivers prep bottles, consider posting a quick checklist near your mixing spot so everyone measures and stores bottles the same way.
Choose Water and Handle Temperature Safely
The “right” water choice depends on your baby’s needs and your local water quality. If you’re unsure, your pediatrician can advise whether tap, filtered, or bottled water is best for your situation.
- Use the water source recommended by a pediatrician (tap, filtered, or bottled) based on local water quality and baby’s needs.
- If boiling water is recommended, boil fresh water, then let it cool to the temperature range advised for safe preparation before mixing.
- Avoid using water that has been sitting in a kettle for long periods; use fresh water to reduce unwanted concentration of minerals.
- Never heat formula in a microwave; hot spots can burn a baby’s mouth even if the bottle feels lukewarm.
- To warm a prepared bottle, use a warm-water bath or bottle warmer; gently swirl to even out temperature before testing.
For detailed, safety-focused guidance, refer to CDC guidance on infant formula preparation and storage and the FDA’s infant formula safety and preparation recommendations.
Step-by-Step: Mix Formula Correctly Every Time
Consistency is your best safety tool. Even if you’ve mixed a hundred bottles, take two seconds to verify the label—ratios vary across brands, product types, and even different scoop sizes.
- Read the label for the exact mixing ratio; don’t rely on memory.
- Measure water first into the bottle (or a mixing pitcher) using the bottle’s volume markings; add formula powder after.
- Use only the scoop that comes with the formula. Level each scoop with a clean, dry edge—no heaping and no packing.
- Add the correct number of scoops, then cap the bottle and mix using gentle swirling or rolling between your palms to reduce foam.
- Check for clumps. If clumping persists, confirm the water isn’t too cold and that scoops are leveled; avoid over-shaking (it adds air).
- Test temperature on the inside of the wrist before feeding; it should feel neutral, not hot.
A helpful habit: keep a dedicated “leveling edge” (like a clean, dry butter knife or a flat scraper) with your bottle-prep supplies so you’re not improvising with a wet spoon.
Reduce Bubbles, Spit-Up, and Leaks During Mixing
Batch Prep and Storage: What to Keep, What to Toss
| Situation | What to do |
|---|---|
| Freshly prepared formula at room temperature | Use promptly; follow label and pediatric guidance for maximum time out. |
| Prepared formula stored in the refrigerator | Use within the timeframe on the label or pediatric guidance; keep consistently cold. |
| Bottle started (baby has begun feeding) | Discard leftovers after the recommended window; do not re-refrigerate partially used bottles. |
| Thawed or warmed prepared bottle | Use soon after warming; do not repeatedly warm and cool the same bottle. |
Common Mixing Mistakes to Avoid
A Simple Night-Feed System That Saves Time
If you prefer lower light during overnight feeds, a dimmable mirror can double as a soft, directional light source in a hallway or nursery corner. The 60″x16″ LED Dimming Full Length Mirror offers adjustable brightness so you can keep the room calm while you prep.
Extra Support: Step-by-Step Reference for New Parents
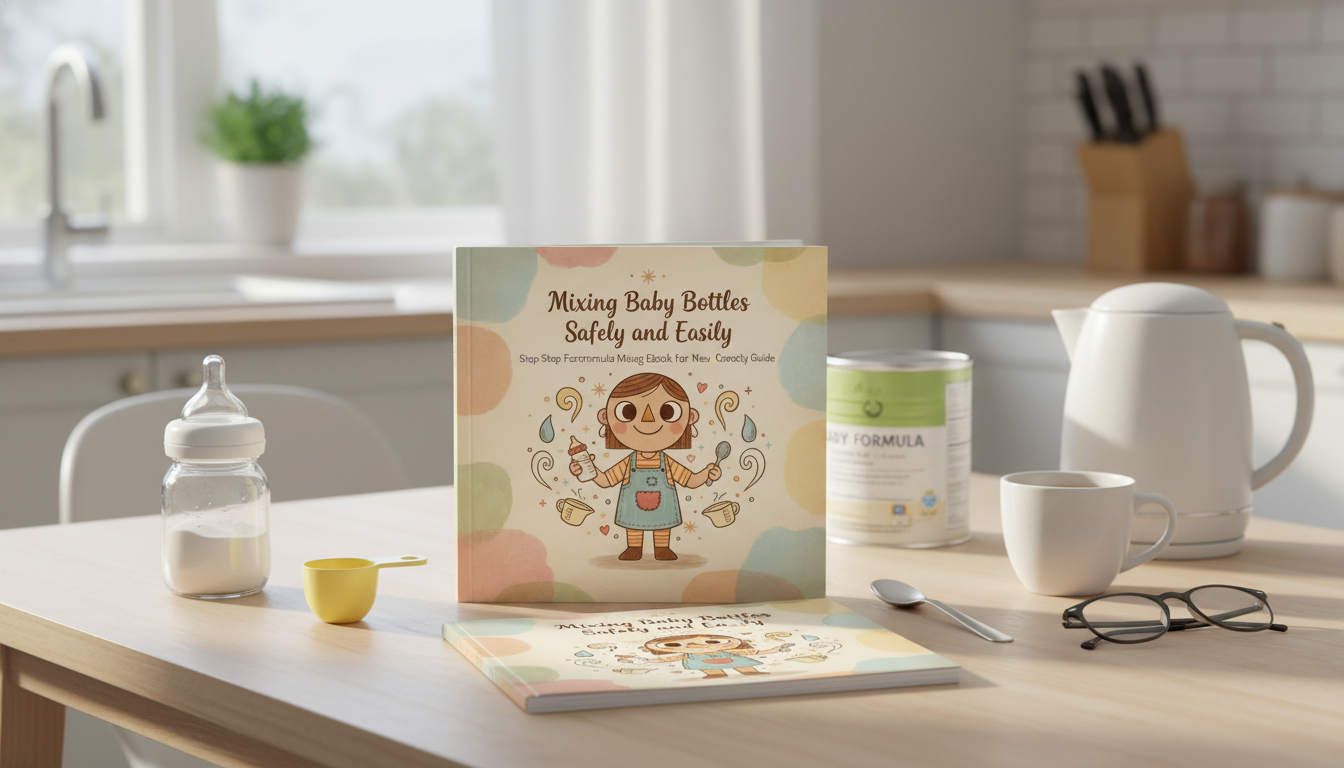
- For a clear, repeatable routine with checklists and visual-style guidance, use the Mixing Baby Bottles Safely and Easily (step-by-step eBook).
- Helpful for caregivers who share feeding duties (partners, grandparents, babysitters) so everyone follows the same measuring and storage habits.
- Keep a digital copy on a phone for quick checks when switching formula types, changing bottle systems, or prepping during travel.
FAQ
Is it better to add water or powder first when making a bottle?
In many routines, measuring water first helps keep the final ratio accurate because the water level is easier to read before powder is added. Always follow the mixing directions on your specific formula label and any pediatric guidance.
Can prepared formula be stored for later feeds?
Yes, many caregivers prep ahead and refrigerate, but timing rules matter—label bottles with the prep time and keep them consistently cold. Follow the storage instructions on the product label and discard leftovers once a feeding has started.
How can clumps and foam be reduced when mixing formula?
Use leveled scoops, confirm the water temperature is appropriate per your guidance, and mix by swirling or rolling instead of shaking. If bubbles build up, let the bottle rest briefly and re-check that the nipple and ring are seated correctly to prevent leaks.
Recommended for you


Was this article helpful?
Yes
No

Leave a comment